Design of Raspberry Pi
The first thing we noticed about the Raspberry Pi Single Board Computer is its size. This computer is tiny. The entire unit measures 3.37 x 2.13 x 0.67 inches, so it’s slightly bigger than a credit card and only a bit too large for an Altoids tin. It weighs 1.2 ounces, less than half the weight of a deck of cards. The Model B is covered in all the ports needed to get connected and running in a matter of minutes: HDMI out, two USB ports, audio out, RCA video, an SD card reader, and a microUSB power connector.
While the Raspberry Pi Model B includes RCA video and audio out ports, the device was created for newer technology, and its creators encourage HDMI use. A USB keyboard, and optionally a mouse, are connected via USB, and grabbing a wireless keyboard and mouse can give Raspberry Pi users more mobility.
The initial run of Raspberry Pi Model B’s does not include a case; the device is simply a circuit board fitted with connectors. The Raspberry Pi Foundation plans on shipping future models enclosed in a protective case at no extra cost.
Software and Setup
As indicated, the Raspberry Pi Single Board Computer uses an SD card for storage. Both of distributors sell preloaded SD cards, but they’re easy enough to make yourself if you have a spare card laying around. Currently you can use the Unix tool “dd” to perform the task, or for those using Windows, “Win32DiskImager.” We assume you’re on Windows or you probably wouldn’t need this guide. Before we get started, download the latest image of Raspbian or any preferred and Win32DiskImager. Insert the SD card into your PC if you haven’t yet.
Extract both archives and start the imaging tool by double clicking Win32DiskImager.exe. It should find your SD card as the application starts and display it in the top right hand corner of the window. Click on the folder icon, then navigate to and select the Debian ISO you extracted. Double check that the correct drive letter is selected, then click on “write” to load the image. This’ll take upwards of five minutes.
Once the process is finished, a popup will notify you that the write was successful. Close the box, exit the application, unmount the SD card from your PC and attach it to the Raspberry Pi. Assuming everything went well, you’re ready to fire the device up. The first time the computer boots from the SD card it will automatically configure itself. It will then reboot and load up once again to the login screen.
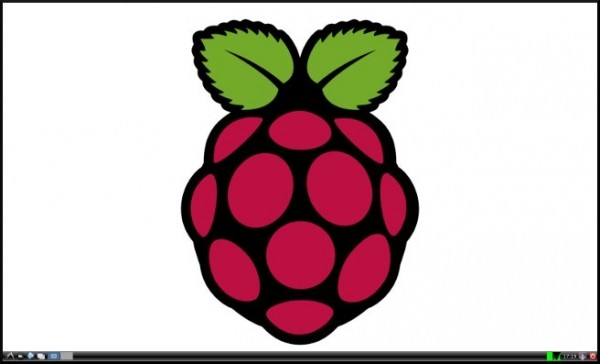
The default username for Debian is pi and the password is raspberry. You can then load the LXDE desktop environment by entering startx. A few moments later, the desktop will load up as below:

Applications can be found by clicking the icon on the far left of the toolbar, similar to the Start menu in Windows. Creating a user account and updating the OS in Windows is pretty straightforward, but the steps are different in Linux.
Although there are many obvious uses for the Raspberry Pi, the platform’s open nature means your imagination is the limit. It’ll be interesting to see what the community cooks up in the coming months. We’ll be watching and posting our own how-to guides when time comes.
 BINARYUPDATES.COM EMBEDDED SYSTEMS TRAINING